
This is about my process making a Cyanotype of a Drawing I made for my ongoing collaboration with Chances with Wolves Radio. www.chancewithwolves.com. Cyanotype is a very easy alternative photo process with lots of possibilities. For my project I am taking the traditional approach and hand coating my paper myself. For those who don’t know a cyanotype is comprised of two chemicals that when mixed become a photosensitive emulsion. Positive image becomes white and negative becomes Cyan. I decided to use this alternative photo process as integral elements in my final work, using both positive and negative drawing for a night sky. For my film-work I decided to draw on mylar, that way I wouldn’t lose any detail when altering it as I would for a printer. The result was an arduous but worth it in the end.

pencil on paper
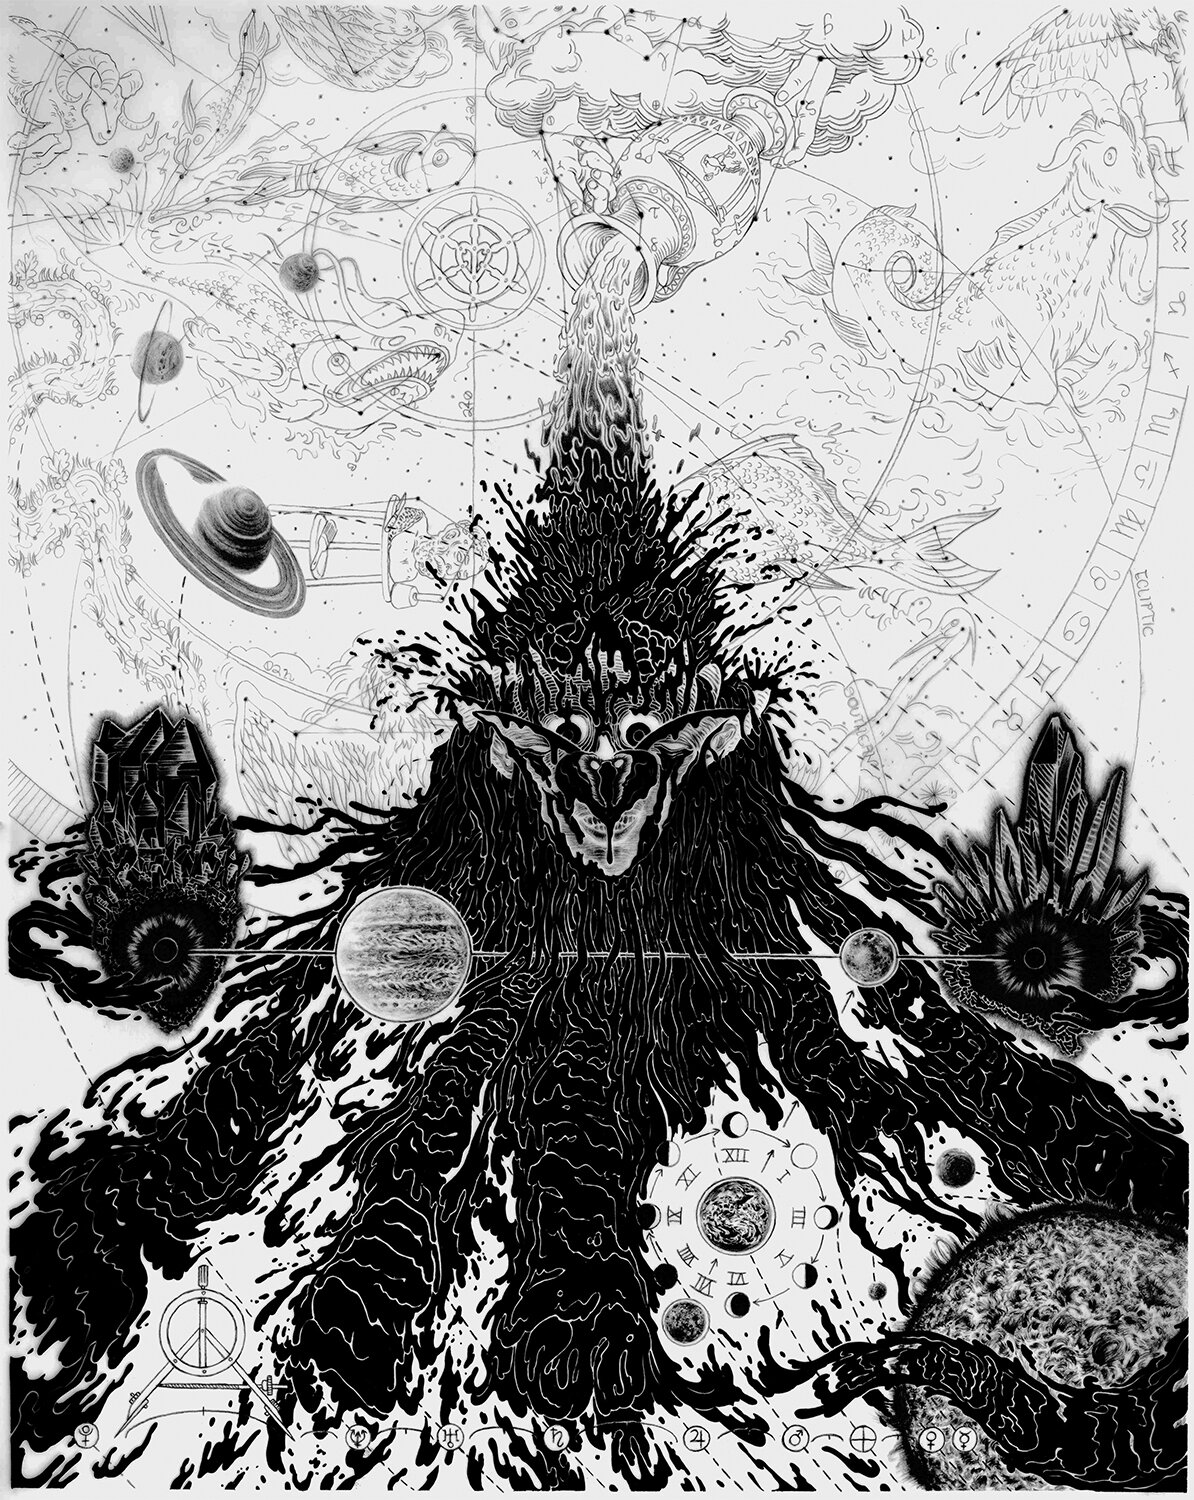
Ink and verithin pencil on mylar

Cyanotype on Arches Platine

This is me inking my drawing in the final stages before exposure.

This is the Cyanotype process of mixing chemistry and coating the paper.

This the process of developing my drawing using a 1000 watt lightbulb exposure unit and Vacuum table.

This is the process of washing the paper of all the unexposed chemistry, returning to the original white of the paper. Once it is white and the water is clear, I develop it with a mixture of hydrogen peroxide and H2O. It is then rinsed again with water for 15 to 20 minutes.